Fear not! I am nothing if not determined. In this case, to learn from past mistakes. So in just a few short weeks, I've taken huge strides in my quest to make this house a home. And one thing I've come to understand over the years is that handmade things are essential to hominess.
True story: The walls of the guest room in our last house were adorned with Kiddo's preschool painting projects mounted in frames. A good friend of ours spent the night once and come morning asked me where we bought our art. They consisted of squiggly lines and shapes in bright colors, typical of a small child (though utterly brilliant in a mother's opinion), so it just goes to show you that some of the best pieces for your home are right in front of you (and often made by hand... in this case a tiny, chubby one). And people may just think you dished out some serious dough to get it.
I've learned a few lessons like this along the way, though they seem to be coming in spades these days.
During this period of hunting for and collecting new furniture and art and such, the inspiration to make has struck. An undeniable urge to create, adorn and personalize that I've seldom had before. A desire to use my own two hand to contribute elements that add character to a room. I was inundated with ideas and sudden, consistent bursts of DIY inspiration. Needless to say, you should expect to see more DIY 'round these parts in the near future.
 |
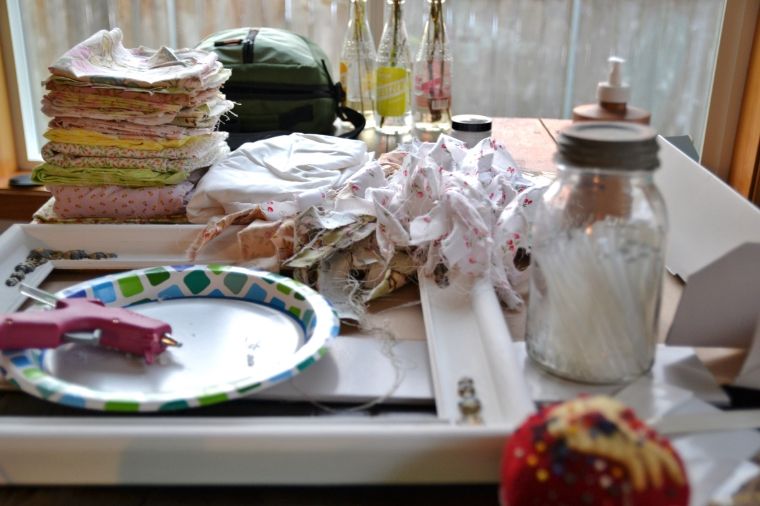
| The current state of my kitchen table, with no less than 5 projects underway. |
A few hours, some tacky glue, and one bone folder (?!) later, I have my first bona fide paper flower project under my belt. (I say it counts, albeit most of the cutting was done for me. But still.) I will admit that it took some finessing, and my inner perfectionist reared her ugly head a couple times, but all in all it was a rather pleasant way to pass the time.
 |
| Step 1: Acquire coffee and a tv remote. |
Tips:
- I initially resisted buying a bone folder. What is a "bone folder" and why is it even called that?, said I. After opening the kit I got a little overwhelmed by the sheer volume of petals to be curled and caved. I scored one for a couple bucks on sale at Jo-Ann's; because I purchased two wreath kits, it was a sound purchase. (Says I.)
- Curling the petals felt a lot like curling ribbon. It took a few tries to get the hang of it, but after that things went smooth as butta and it was as if I'd been using a bone folder my whole life. Just make sure you hold the base of the petal with one hand while curling with the other. I ripped a couple off, but it was easily repaired with a little tape and no one will be the wiser.
- I was contemplating hanging the wreath on our front door, and still might, so I wanted it to have some staying power. My little heart would break should blooms start falling off willy-nilly when we opened and closed the door. So instead of using double-sided tape as the instructions suggest, I used a dot of tacky glue (the old standby in the gold bottle) in between the layers to adhere them.
- Once the blooms were finished, I roughly arranged them on the cardboard backing to get a feel for the overall design. Then I used hot glue to adhere them (again, for staying power), working clockwise.
- I placed my blooms a little too close together, I realized halfway through, so I was concerned about a gap at the end. I remedied this issue by Frankenstein-ing an extra small flower out of the leftover pieces and adding it to the mix. I'm not sure anyone could tell. Fun game: find the odd bud out!
- I attached the leaves last, using them to cover any cardboard that was peeking through. I also used almost twice the amount shown on the directions, but they give you enough paper to make a lot and I liked it with more. I'm a renegade that way. Also, use the bone-thingy to crease them down the middle.
The whole process took me about 3-4 hours from start to finish, over two days and several sittings, often while simultaneously working my way through DVR'd episodes of NY Med and Pioneer Woman. The point is, this is not a 30 minute craft project. But boy is it gratifying when you're done. If you are into this thing, and who isn't, give it a go! Totally worth it. [Next up, the Paper Source Succulent Wreath Kit.]
P.S. This may go without saying, but Paper Source doesn't know me from Eve. I just dig their stuff. In fact, I completed a furniture project a few days ago and dreamt up the idea of using some of their gift wrap as a wall paper of sorts. They don't know I did that, either.
P.P.S. Maybe I should get a gig writing for the Paper Source blog.


Post a Comment
Comments make my heart go pitter-patter. Make sure you are not a no-reply blogger!